Here are 4 clarinet hacks that can greatly increase your student’s comfort and chance of success.
#1 Mouthpiece Patches
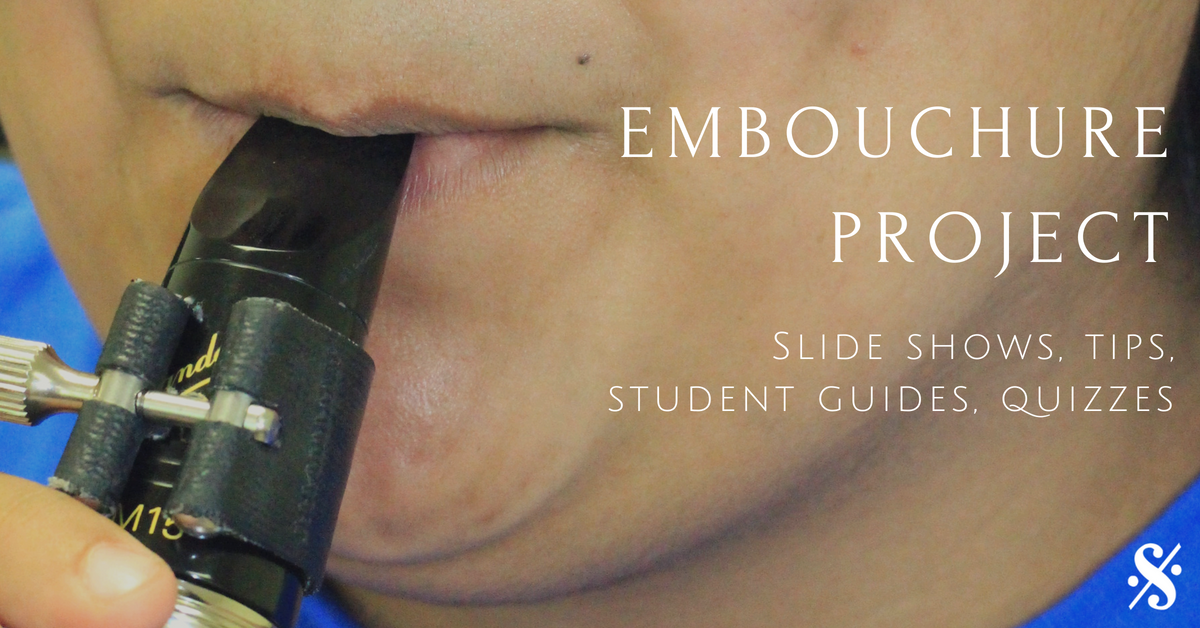
I LOVE mouthpiece patches! I don’t really care that they protect the mouthpiece (though this can be a nice bonus). I love them because it dulls the sense of vibration on the upper teeth. Many students do not anchor to their top teeth because they don’t want to feel the vibration. Adding a mouthpiece patch can fix that problem, and in turn improve their tone significantly in a short time.
There is a specific kind I like – not a brand necessarily, but there are 2 options and I definitely have a favorite. You’ll see a very thin, hard one that is often clear and a thicker, softer one that is usually black. Get the black ones! I’ve played on the clear and don’t feel like they help with vibration much at all. This is all about the comfort of the student so they are willing to play with a correct embouchure and black provides more of a cushion.
Here’s an example of what I recommend:
Vandoren VMCX6 Mouthpiece Cushions; Black; Thick; 0.80mm/.032″; Pack of 6 or
#2 Pencil Grips
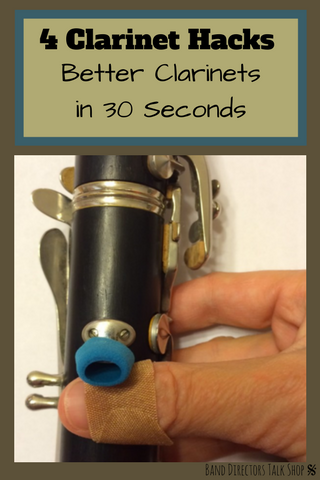
These basically replace thumb savers (they are cheaper and I feel they are more comfortable) and improve hand position. By putting a soft pencil grip around the thumb rest it provides comfort on the right thumb, helps students keep their thumb in the correct position (instead of putting it too far under the thumb rest) and helps the instrument more secure. I recommend these for ALL makes of clarinet – even if they have a bigger thumb rest.
By making the thumb more comfortable it is easier to get the students to anchor the mouthpiece and keep a firm embouchure.
I suggest you buy enough for all of your clarinets to have one. You’ll cut them in half, so one package (of 5) will work for 10 players. The reason to cut them in half and not thirds is to have a little extra hanging off the end. That is what makes it feel a little more secure, especially to beginning students. If you feel like cutting it in half leaves too much hanging over then trim it, but don’t cut it into thirds.
Here’s an example of what I recommend (soft and cheap!)
The Classics 12-Pack Soft Foam Pencil Grips, Assorted Colors, 1.5-Inch Long (TPG-16412)
#3 Dots on Keys
I suggest putting little stickers (I call them dots because I use mini Avery label dots) on the pinky keys. There are 2 ways you can do this.
Beginners – I put them on the low F and low E keys – home position – as soon as the instrument is assembled. I tell the kids to always keep their pinkies on the dots. It makes for quick reminders “Touch the dots!” and gives them a visual of something to touch. It also ensures that all the students have their pinkies on the correct keys. Then as you teach them new keys (like the low F# key you can put a dot on that one so they are sure they are playing the right one. Sometimes they fall off after a few days (depending on the instruments) and that’s ok – it’s more that they can visualize what you mean when you say “Touch the dots.”
Advanced students – You can use the colored dots to teach alternate fingerings. Hopefully you have a sectional where you can do this, but if not you can pass the stickers down the row during class and then check (or have your first chair check) that they got it right. If you have a band piece where you they need to use the left hand C (3rd space) you can put a red sticker on that Left C and a red sticker on the Right C and show them that they are the same note but 2 different fingering options.
Here’s an example of what I recommend:
Avery Round Color Coding Labels, 0.25 Inch Diameter, Assorted Removable, Pack of 475 (06720)
#4 Bandaids
I use bandaids to remind students where their thumbs should be placed. It checks 2 things –
1. That the thumb rest is not on the knuckle. It should be half over the thumb nail.
2. That the flesh of the thumb is against the wood of the clarinet. If they put the padded part of the bandaid on the flesh of the thumb you can tell them that that part should be on the wood.
I suggest giving them out one day in the fall – to all your clarinets – beginning and advanced band. Show them where to put the bandaid (half nail, half skin) and tell them that the thumb rest should not touch the skin – only the bandaid. Then I keep some handy in case certain students need more frequent reminders. Usually just doing it once helps them feel it and visualize it better on their own.
Buying in bulk makes them pretty cheap. (These were $.06 each at time of posting.)
Johnson & Johnson Flexible Fabric Adhesive Bandages, 1 x 3, 100 per Box
You can also check with your school nurse and see if they can give you a box.
I hope these 4 clarinet hacks help your students improve in 30 seconds or less! They will also think you’re awesome that you make their clarinet playing experience more comfortable!
CLARINET PODCAST & RESOURCE WEBSITE
A 1999 music education graduate of WTAMU, Tamarie Sayger held band director positions in Plano and Odessa, TX for 5 years. As a private clarinet instructor in Texas for 16 years, she has taught hundreds of students from grade 6-12 in classes, sectionals, and individual lessons. She has presented at district in-services and co-presented at the Texas Bandmasters Association convention. Her website, CrossingTheBreak.com, provides resources for clarinet teachers around the country. Mrs. Sayger is also a core contributor for BandDirectorsTalkShop.com, primarily on the subjects of clarinet and private lessons. Her podcast, Crossing The Break, can be found (free) on iTunes or on her website.
Related Reading:
Teaching Clarinets to Roll to A isn’t Enough
Motivate Your Band – Reach Higher
A Time and Place for Every Fingering (Saxophone)
BandDirectorsTalkShop is an Amazon affiliate. When you purchase through a link from this site a small percentage is returned to us to help us maintain and improve our site. We appreciate the support!
Learn. Share. Inspire.
BandDirectorsTalkShop.com




[…] Related Reading: 3 Clarinet Hacks – Better Clarinets in 30 Seconds […]