
Every band director wants their beginner flutists to have pure, full and beautiful tones. Establishing a good flute embouchure is the first step for developing a star player. It is important to be detail oriented at the beginning of the school year so you don’t end up spending time fixing bad embouchure habits. Here are some simple, easy steps to ensure success with your beginning flute players.
PREPARATION
- Mirror Use & Director Model
Students should be sitting straight and tall with mirrors on a stand in front of them so they can check their embouchure. The director should be a model for the students, demonstrating frequently.
- Practice Without Instrument First
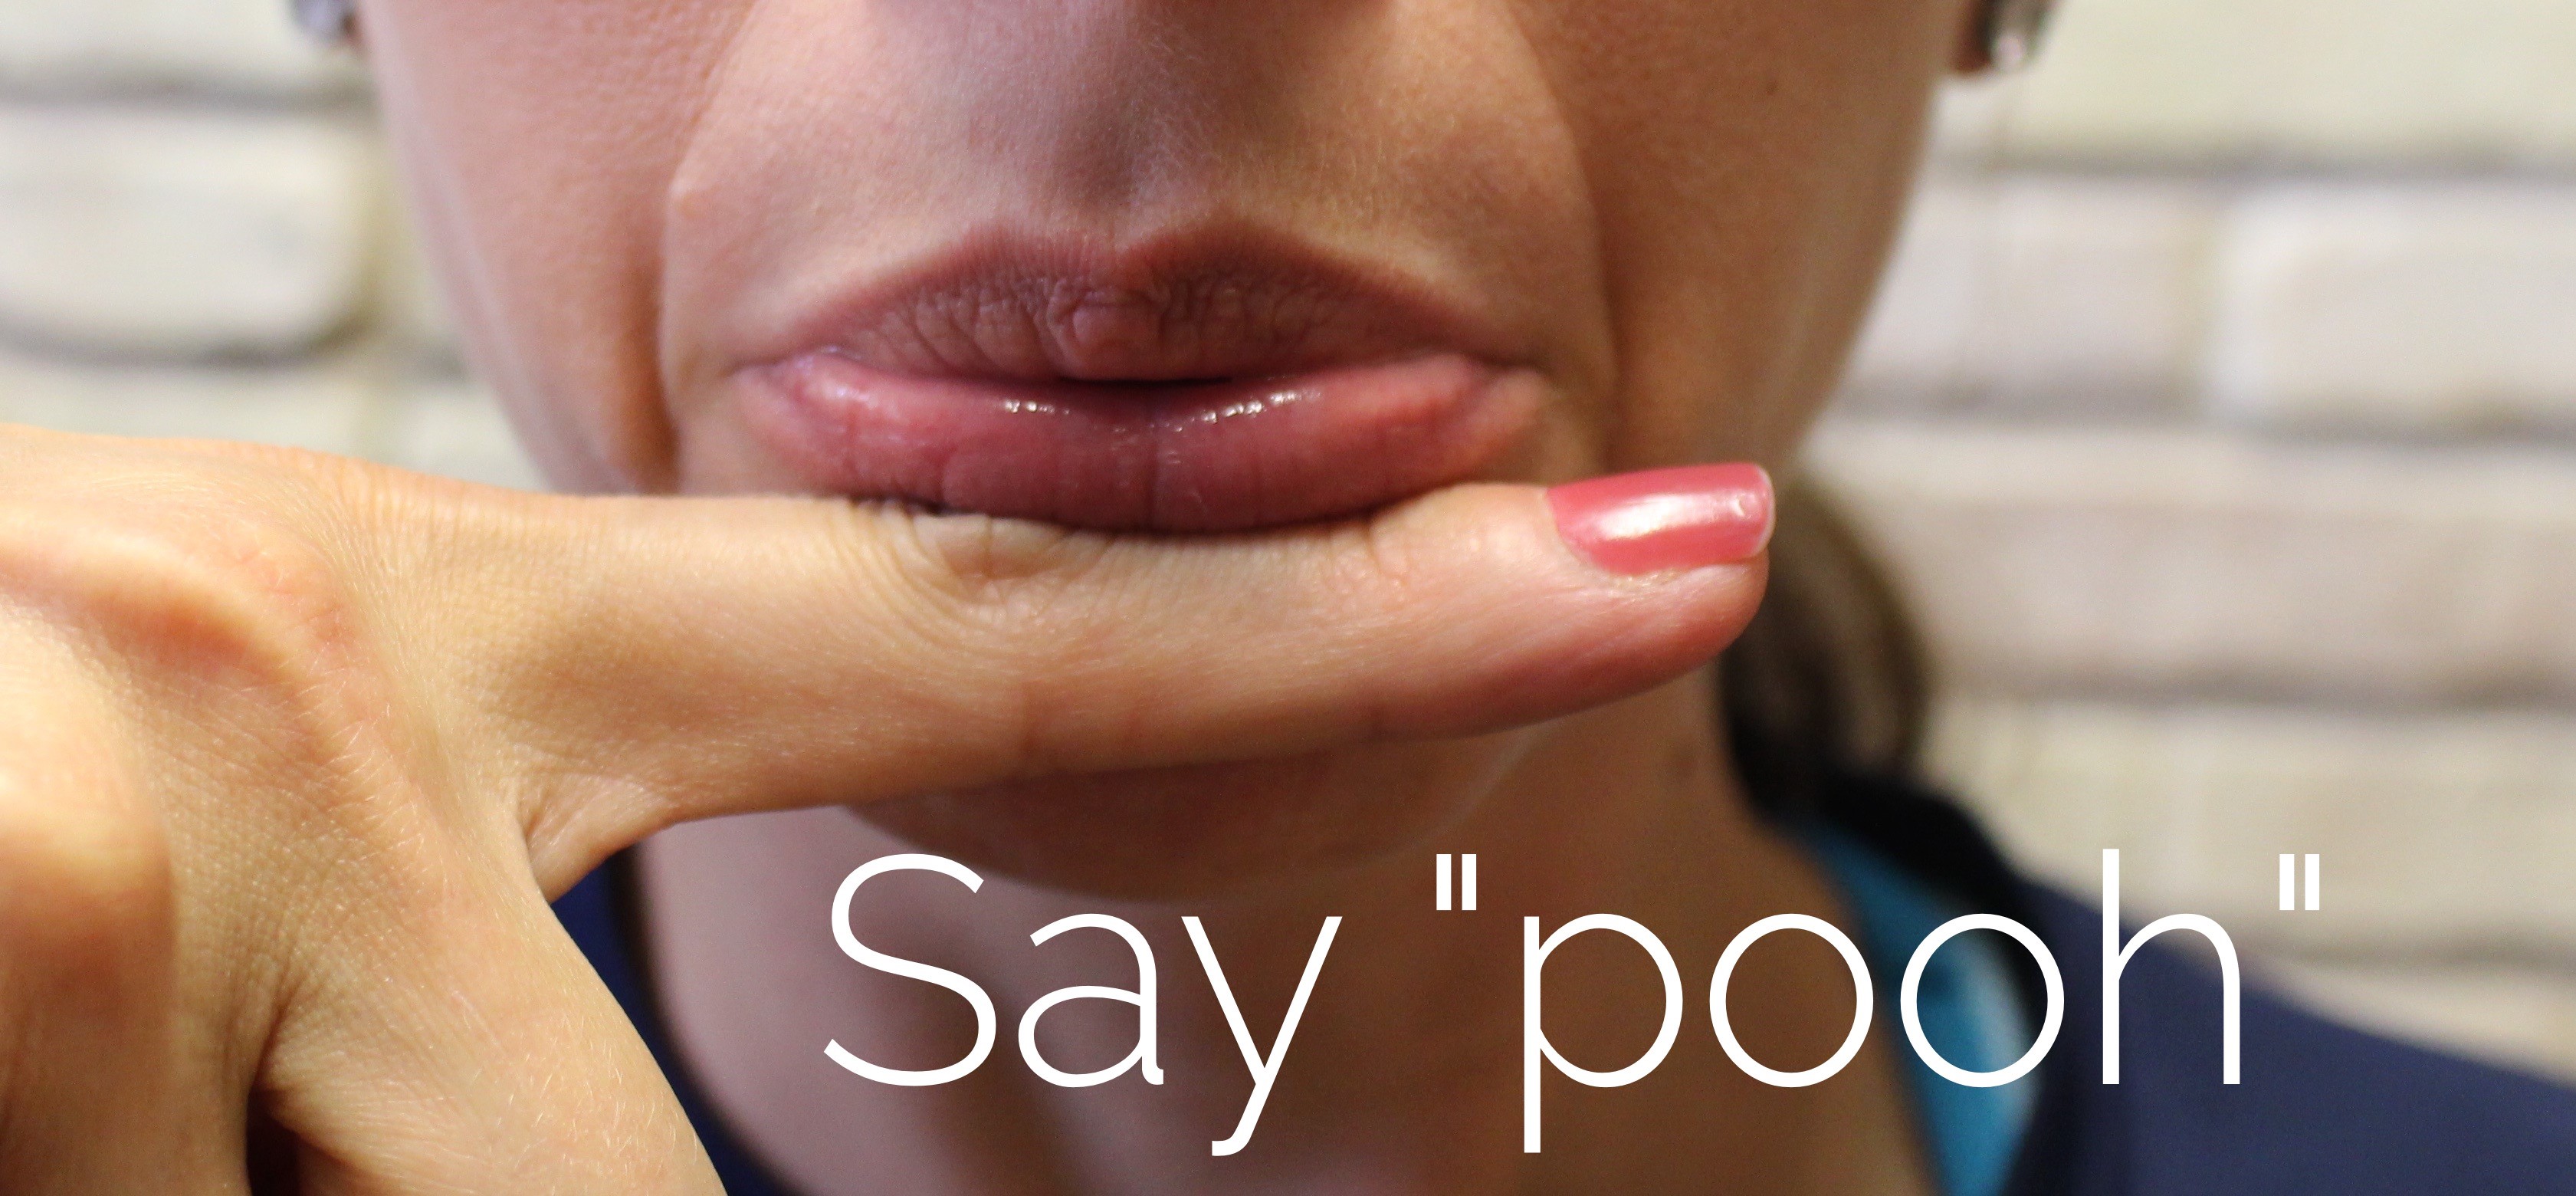
Have students put their right-hand index finger under their bottom lip and tell them to say “pooh.” Next, instead of actually saying the word, have them form their lips as if they were saying “pooh,” and blow a steady stream of air out of their mouths. They should be trying to copy the director and then check themselves in the mirror. Here’s a picture:
HEADJOINT PLACEMENT
- Holding the Headjoint
Make sure students are holding the headjoint with both hands and that the headjoint is parallel to the floor.
- Lip Plate Positioning
The bottom edge of the embouchure hole should be directly under the pink part of the bottom lip for the majority of students. A rare exception is if the child has a large, full bottom lip. In that case, it may be moved up onto the pink of the bottom lip just a tiny bit. Do not teach the “touch and roll down” method for finding the embouchure. This method places the lip plate too high on the bottom lip.
PRODUCING THE FIRST SOUND
- Say “Pooh”
Have the students say the word “pooh” and blow air through the flute. The corners of the lips should be a bit firm with the lower lip squishing out over the embouchure hole. The bottom lip should look relaxed and not tight. The air should be directed at the outer edge of the hole with approximately 60% of the air going into the flute to achieve a full, beautiful sound.

- Make a Pouty Face
The corners of the lips should be down, creating a “pouty” face. No happy flute players in this band hall!

- Aperture Size
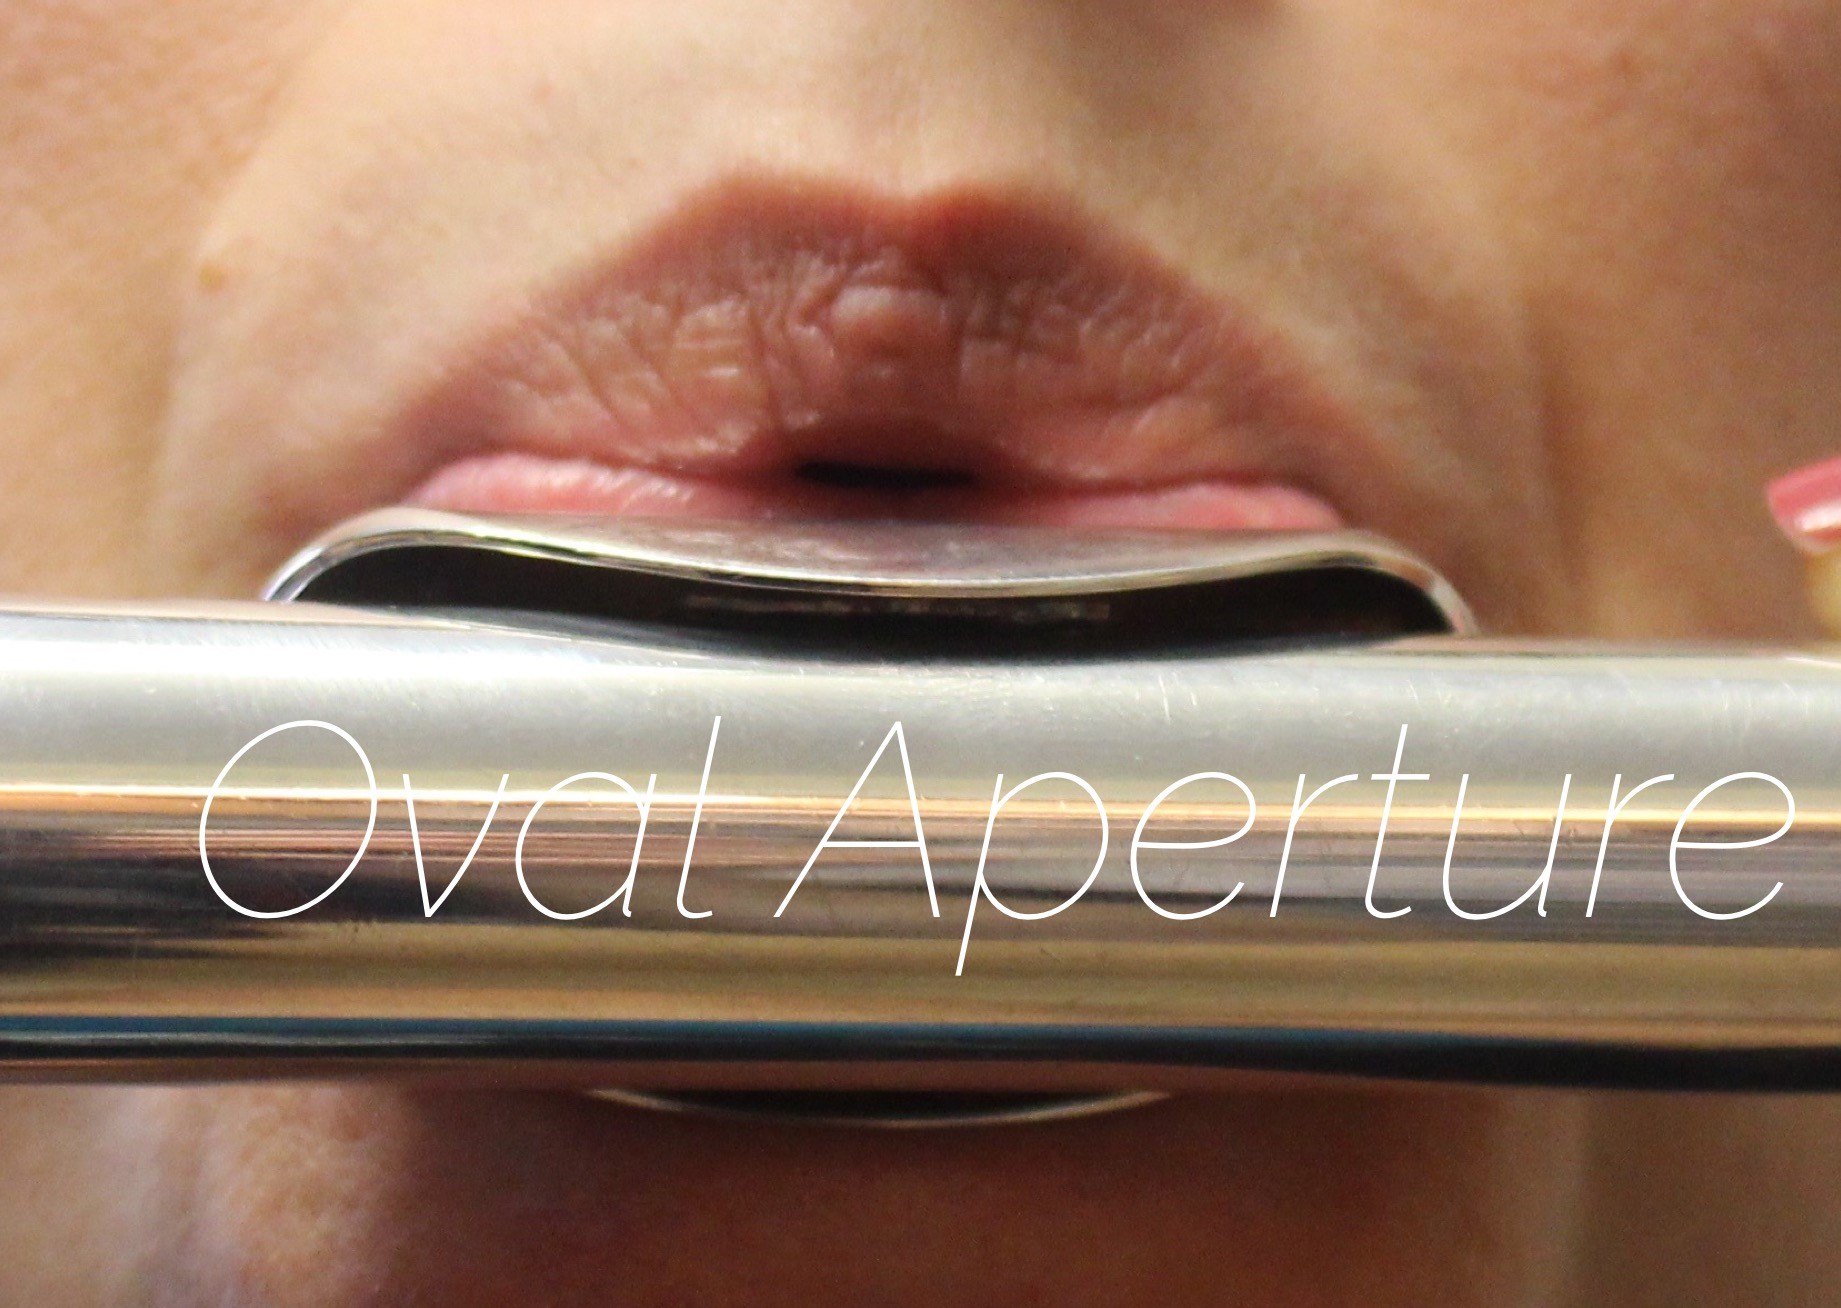
The aperture should be shaped more like a small, thin oval, not a perfect circle (see picture below). Explain to the students what an aperture is and model for them. Have them check themselves in the mirror frequently. If the aperture is too big, the tone will be airy.
FLUTE EMBOUCHURE NO NO’s
- Smiling embouchure
This is the most common mistake we see in young flute players and must be addressed immediately. The corners of the mouth should be down, creating a pouty face. Yes, we want pouty flute players!
- Aperture too large
Tell students to think of the aperture as being the size of a toothpick or laser beam. Remember, the tone will sound airy if the aperture is too big.
- “Touch and Roll” method
Do not use for embouchure placement. This is a common mistake many teachers make. The result of this method is improper lip placement on the lip plate, which creates a poor flute tone.
- Back molar teeth too close together
The teeth should be approximately 3/8″ apart, creating an open oral cavity. Have the students visualize having pencil erasers or small baby carrots between their back teeth. Better yet, have them try the baby carrot idea at home!
- Putting a child with a teardrop upper lip on the flute
If a child with a teardrop lip is taking flute class, place them on a different instrument if possible. If this is not a possibility, the aperture should be set to one side of the teardrop.
- Playing with head down
This is not a good habit for any instrumentalist. A good embouchure always begins with good posture.
- Not enough air support
If students aren’t using proper air support, their tones will be weak. Remind students that playing the flute takes more air than playing the tuba!
- Rolling headjoint too far in or out
If the headjoint is rolled in or out too far, the tone will be poor, weak and most likely airy. You should be able to see about half of the embouchure hole when playing.
Pay attention to detail at the beginning of the school year, and you will see good results. Following these embouchure tips will help you help you have good success building an A+ flute section!
Educator Emily Moran directed junior high band in Odessa, TX and taught elementary music in Rockwall, TX. She has instructed hundreds of students, grades 6-12, in master classes, sectionals and individual private lessons. Mrs. Moran also presented clinics at the Texas Bandmasters Association convention and the “Art of Teaching Band Symposium” in El Paso, TX. She graduated from West Texas A&M University with her Bachelor’s and Master’s degrees in Music and studied flute with Sally Turk, Dr. Gary Garner and Helen Blackburn. Mrs. Moran is married to her husband Jake, and they welcomed their first child in 2015.
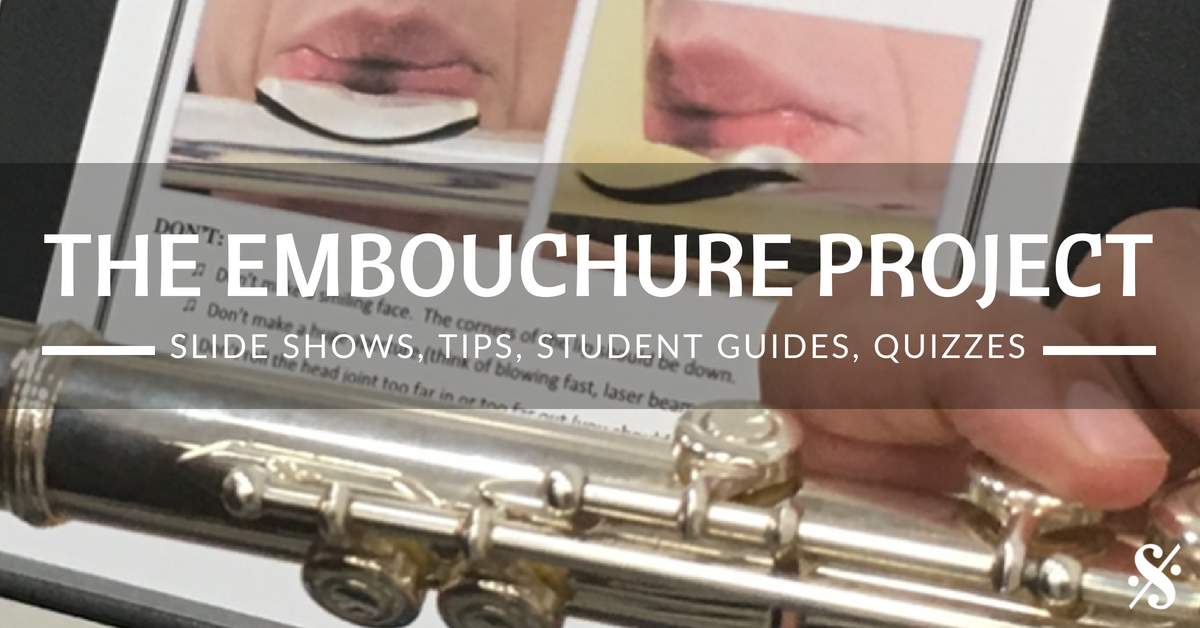
For great embouchure tips, worksheets, slideshows and student handouts, check out THE EMBOUCHURE PROJECT HERE.
If you would like to receive our weekly newsletter, sign up here.
Don’t forget to like us on Facebook too!
Related Reading:
Simple Steps to Teaching Flute Vibrato
Start Your Beginner Flutes the Right Way
Demystifying Double Reeds (embouchure)
Learn. Share. Inspire.
BandDirectorsTalkShop.com


Leave a Reply
You must be logged in to post a comment.